Easy Stained Glass Cookies
Highlighted under: Golden Sweets
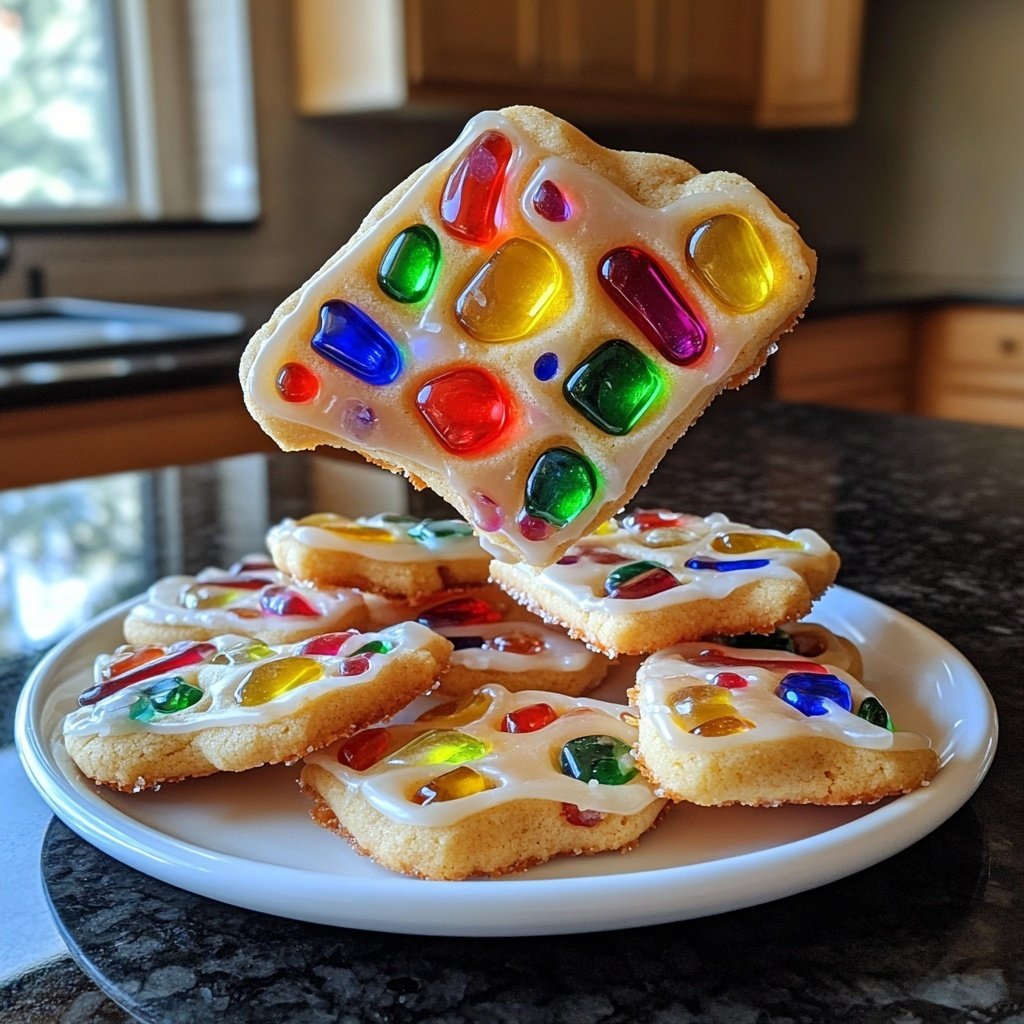
These Easy Stained Glass Cookies are a delightful treat that add a pop of color to any occasion. Perfect for holidays or just a fun baking day!
Stained glass cookies are a nostalgic treat that can be customized for any season. With their vibrant colors and sweet flavors, these cookies are sure to impress your family and friends. Plus, they're fun to make!
Why You'll Love These Cookies
- Colorful and eye-catching design
- Crispy edges with a chewy center
- Easy to customize with your favorite candy flavors
- Fun activity to do with kids or friends
A Colorful Twist on Classic Cookies
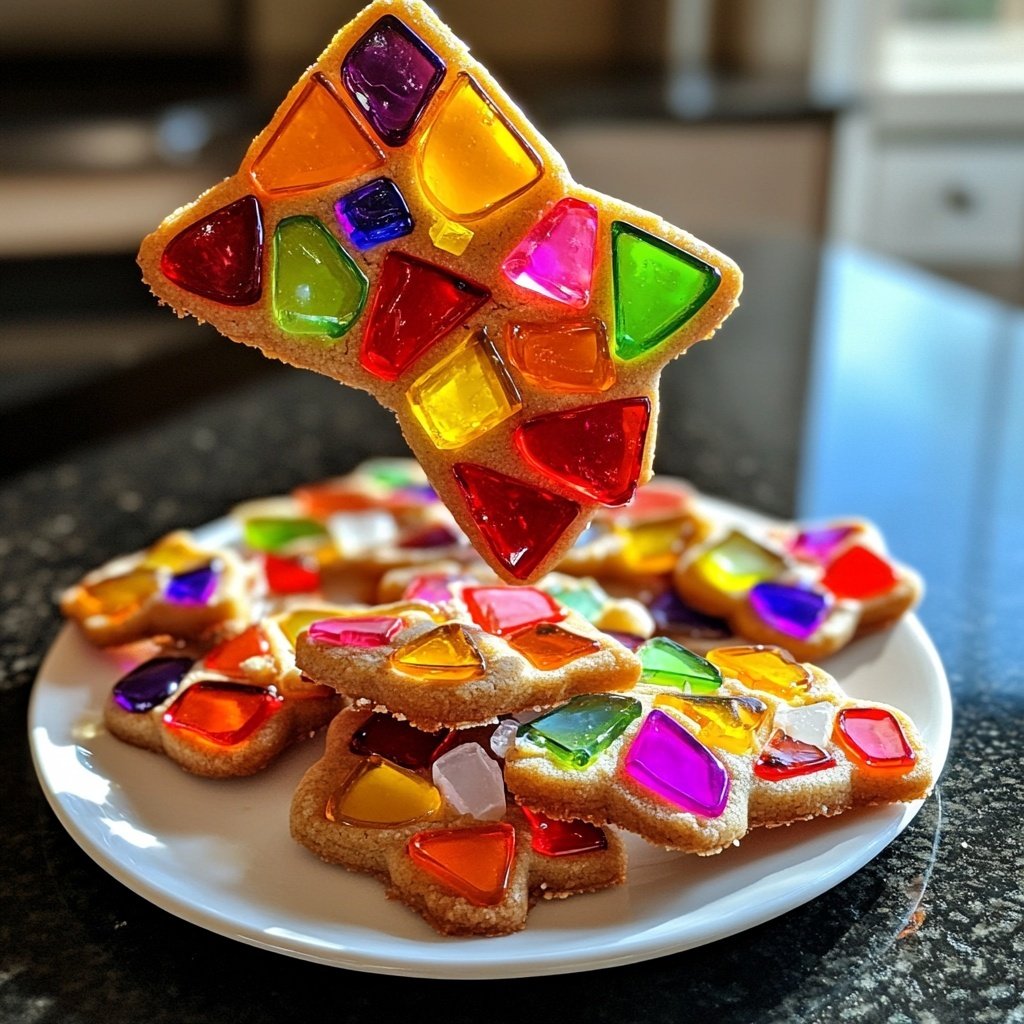
Stained glass cookies are a whimsical take on traditional sugar cookies, perfect for festive occasions. The vibrant colors of the crushed candies create a stunning visual effect that resembles stained glass windows, making these cookies not just tasty but also a feast for the eyes. Each bite brings a delightful crunch followed by a chewy center, offering a unique texture that will leave your guests wanting more.
These cookies are incredibly versatile, allowing you to choose your favorite candy flavors. From fruity Jolly Ranchers to classic hard candies, the options are endless. This customization means that you can make a batch that caters to your taste or even the preferences of your friends and family. Experiment with different colors and flavors to create a cookie assortment that is as fun to look at as it is to eat.
Perfect for Any Occasion
Whether you're celebrating a holiday, hosting a birthday party, or just looking for a fun baking project, stained glass cookies fit the bill. Their eye-catching design makes them ideal for festive gatherings, while their simplicity means you can whip them up quickly. Kids will love the hands-on experience of making and decorating these cookies, making it a fantastic activity for family bonding.
Not only are they visually appealing, but stained glass cookies are also great for sharing. Package them in colorful boxes or bags, and they make delightful homemade gifts for friends and neighbors. Imagine the joy on their faces when they receive a piece of art that they can also enjoy as a treat!
Ingredients
For the Cookies
- 2 3/4 cups all-purpose flour
- 1 teaspoon baking powder
- 1/2 teaspoon salt
- 1 cup unsalted butter, softened
- 1 1/2 cups granulated sugar
- 1 large egg
- 1 teaspoon vanilla extract
- 1/2 teaspoon almond extract
For the Filling
- 1 cup crushed hard candies (e.g., Jolly Ranchers)
Make sure to preheat your oven before starting the mixing process!
Instructions
Prepare the Dough
In a bowl, whisk together the flour, baking powder, and salt. In a separate bowl, cream the butter and sugar until light and fluffy. Beat in the egg and extracts. Gradually mix in the dry ingredients until well combined.
Chill the Dough
Divide the dough into two equal parts, flatten into discs, wrap in plastic, and refrigerate for at least 1 hour.
Roll and Cut
Preheat your oven to 350°F (175°C). Roll out the dough on a floured surface to about 1/4 inch thick. Use cookie cutters to cut shapes, and cut out the center with a smaller cutter.
Add Candy
Place the cookie shapes on a lined baking sheet. Fill the centers with crushed candies.
Bake
Bake for 8-10 minutes or until the edges are lightly golden. Let cool completely before handling.
Store in an airtight container to keep them fresh!
Pro Tips
- Experiment with different candy colors and flavors for unique cookies!
Tips for Success
To ensure the best results, make sure to properly chill the dough before rolling it out. This helps maintain the shape of the cookies and prevents them from spreading too much during baking. Additionally, when cutting out the shapes, use a sharp cookie cutter to get clean edges and a professional look.
If you want to experiment with flavors, consider adding a few drops of food coloring to the dough or using flavored extracts. This can elevate the taste and appearance of your cookies, making them even more special. Just remember to keep the balance so that the flavors complement rather than overpower each other.
Storing Your Cookies
Once your cookies are baked and cooled, store them in an airtight container to maintain their freshness. They can be kept at room temperature for up to a week, making them perfect for snacking or sharing throughout the week. If you want to keep them longer, consider freezing them. Just layer them between sheets of parchment paper and place them in a freezer-safe bag.
When you're ready to enjoy your frozen cookies, simply take them out and let them thaw at room temperature. They will taste just as delicious as the day they were baked. This makes stained glass cookies not only a fun project but also a convenient treat for any time you have a craving.
Questions About Recipes
→ Can I use different types of candy?
Yes! You can use any hard candy that melts well, like Lifesavers or Werther's Originals.
→ How do I store these cookies?
Store them in an airtight container at room temperature for up to a week.
→ Can I freeze the cookie dough?
Absolutely! Wrap it tightly in plastic wrap and freeze for up to 3 months.
→ What if I don’t have cookie cutters?
You can use a knife to cut shapes or even a glass to make round cookies.
Easy Stained Glass Cookies
What You'll Need
For the Cookies
- 2 3/4 cups all-purpose flour
- 1 teaspoon baking powder
- 1/2 teaspoon salt
- 1 cup unsalted butter, softened
- 1 1/2 cups granulated sugar
- 1 large egg
- 1 teaspoon vanilla extract
- 1/2 teaspoon almond extract
For the Filling
- 1 cup crushed hard candies (e.g., Jolly Ranchers)
How-To Steps
In a bowl, whisk together the flour, baking powder, and salt. In a separate bowl, cream the butter and sugar until light and fluffy. Beat in the egg and extracts. Gradually mix in the dry ingredients until well combined.
Divide the dough into two equal parts, flatten into discs, wrap in plastic, and refrigerate for at least 1 hour.
Preheat your oven to 350°F (175°C). Roll out the dough on a floured surface to about 1/4 inch thick. Use cookie cutters to cut shapes, and cut out the center with a smaller cutter.
Place the cookie shapes on a lined baking sheet. Fill the centers with crushed candies.
Bake for 8-10 minutes or until the edges are lightly golden. Let cool completely before handling.
Extra Tips
- Experiment with different candy colors and flavors for unique cookies!
Nutritional Breakdown (Per Serving)
- Calories: 150 kcal
- Total Fat: 7g
- Saturated Fat: 4g
- Cholesterol: 20mg
- Sodium: 50mg
- Total Carbohydrates: 21g
- Dietary Fiber: 0g
- Sugars: 10g
- Protein: 2g