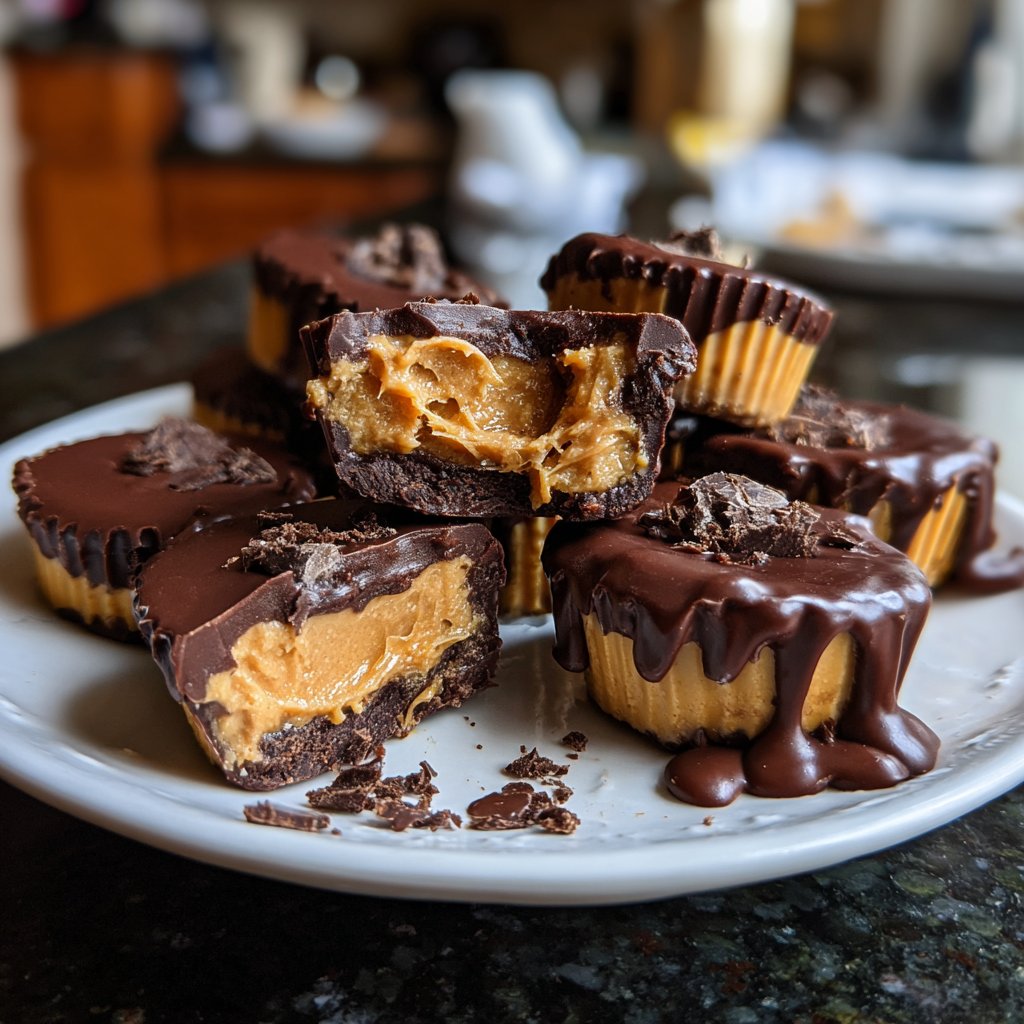
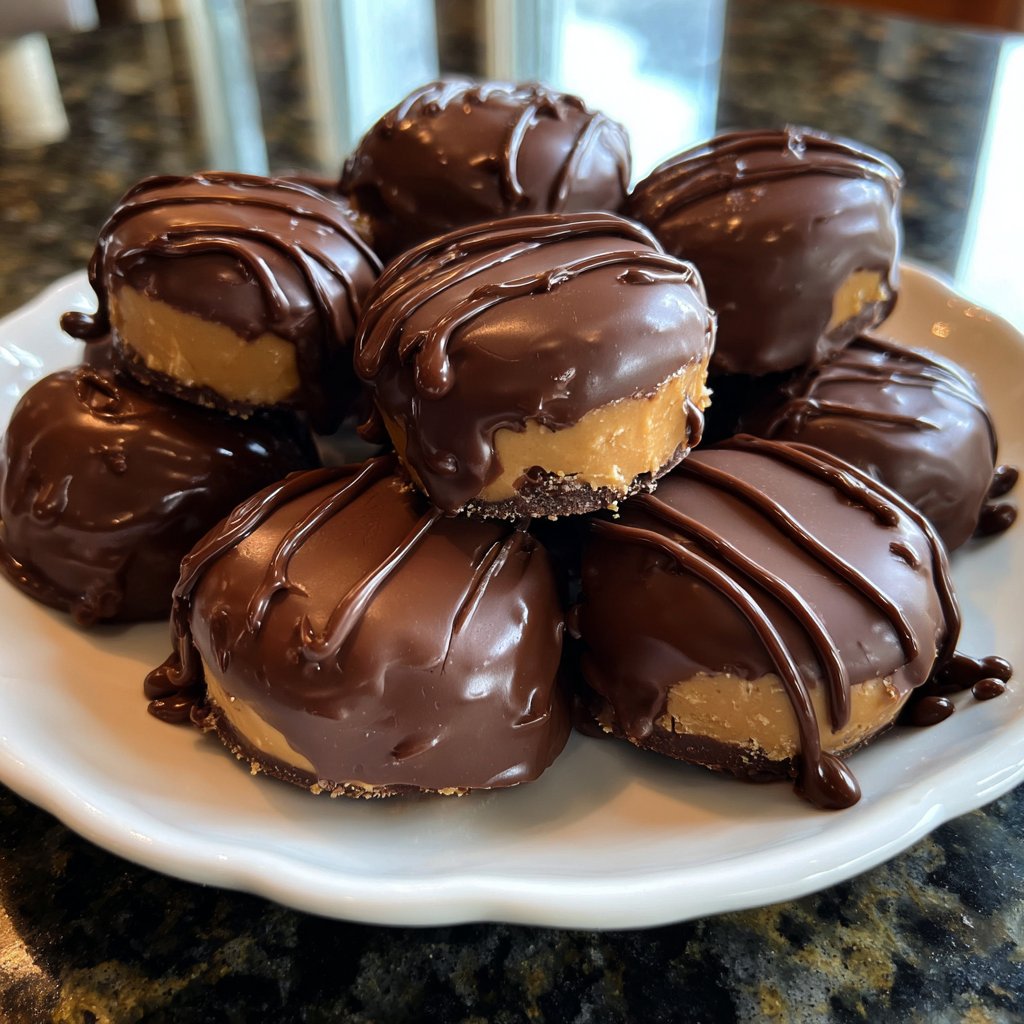
Homemade Reese’s Cups Mini Bites
Highlighted under: Golden Sweets
I absolutely love making these Homemade Reese’s Cups Mini Bites whenever I crave something sweet and satisfying. The combination of rich chocolate with creamy peanut butter is simply irresistible! Not only are they incredibly easy to whip up, but they also allow me to control the quality of ingredients, making them even more delicious. These mini bites are perfect for sharing at gatherings or for indulging during a movie night. Trust me, once you try this recipe, you'll never want store-bought versions again!
I first stumbled upon a recipe for these mini treats while looking for a fun project to do with my kids. We had a blast melting the chocolate and filling the cups with creamy peanut butter. Being able to customize the sweetness level was a game-changer for us, and it really made each bite feel special. Not to mention, the satisfaction of creating something homemade is always worth the effort.
When I make these, I like to play with the presentation by using colorful cupcake liners. They add a festive touch, especially when I’m serving them at parties. A tip that works well is to let the chocolate cool slightly before pouring it into the liners; this helps to avoid any mess when adding the filling. Each time I share these delights, they disappear in minutes!
Reasons to Love This Recipe
- Rich chocolate flavor paired with creamy peanut butter
- Customizable sweetness for the perfect bite
- Fun and easy to make with kids or friends
- Great for parties or a sweet treat at home
Mastering the Melt
Achieving the perfect melt for your chocolate layer is crucial for the overall texture of the Reese's Cups. When microwaving the chocolate chips with coconut oil, it's essential to use short intervals—about 30 seconds each. This prevents the chocolate from seizing or burning, which can happen quickly. Stirring between intervals allows for even heat distribution, resulting in a glossy, smooth chocolate. If it isn't melting fully, don’t hesitate to give it an additional 10-15 seconds while watching closely to avoid overheating.
The addition of coconut oil not only helps in achieving a shiny finish but also slightly thins the chocolate, making it easier to coat the peanut butter filling later. For a deeper flavor, consider using dark chocolate chips instead of semi-sweet ones. Just be sure to adjust the sweetness of the peanut butter filling if you prefer a sweeter contrast!
Perfecting the Peanut Butter Filling
Balancing the texture and sweetness in the peanut butter filling is essential for a delightful bite. The combination of creamy peanut butter and powdered sugar creates a texture that’s both rich and smooth. Using powdered sugar instead of granulated sugar is important here, as it dissolves easily, avoiding any graininess in the mix. If you prefer a less sweet filling, adjust the amount of powdered sugar gradually until you achieve your desired flavor.
For a fun twist, consider adding a pinch of salt to the peanut butter filling to enhance the flavor contrast. Alternatively, if you're looking to modify the recipe for dietary needs, almond butter or sunbutter can be great swaps for peanut butter, maintaining similar textures and flavors.
Make-Ahead and Storage Tips
These Homemade Reese’s Cups Mini Bites can be made in advance, making them a great option for gatherings or just having a sweet treat on hand. Once set, you can store the mini bites in an airtight container in the refrigerator for up to a week. If you're preparing them for a longer duration, consider freezing them. Simply place them in a freezer-safe container with parchment paper between layers to prevent sticking; they will last up to three months in the freezer.
To enjoy them straight from the freezer, you can pop them in the fridge for about 10-15 minutes before serving, allowing them to soften slightly. This method keeps their delightful texture intact while enhancing the flavors when enjoyed slightly chilled—like a perfect contrast of creamy and cool!
Ingredients
Gather these ingredients to create your mini treats:
For the Chocolate Layer
- 1 cup semi-sweet chocolate chips
- 1 tablespoon coconut oil
For the Peanut Butter Filling
- 1/2 cup creamy peanut butter
- 1/4 cup powdered sugar
- 1 teaspoon vanilla extract
Now that you have everything ready, let’s move on to the steps!
Instructions
Follow these easy steps to make your Homemade Reese’s Cups Mini Bites:
Melt the Chocolate
In a microwave-safe bowl, combine the chocolate chips and coconut oil. Heat in the microwave in 30-second intervals, stirring in between, until the mixture is fully melted and smooth.
Prep the Cupcake Liners
Line a mini muffin tin with cupcake liners. Once the chocolate is melted, spoon about 1 tablespoon into each liner, spreading it evenly at the base.
Make the Filling
In a separate bowl, mix together the peanut butter, powdered sugar, and vanilla extract until smooth and well combined.
Add the Peanut Butter Filling
Once the chocolate layer has set for about 10 minutes, add about 1 teaspoon of the peanut butter filling to each liner on top of the chocolate.
Top with More Chocolate
Pour another tablespoon of melted chocolate over the peanut butter filling in each liner, making sure to cover it completely.
Chill and Enjoy
Place the muffin tin in the refrigerator for at least 10 minutes to allow the mini bites to set completely before serving.
Enjoy your homemade mini treats!
Pro Tips
- For an extra touch, sprinkle a bit of sea salt on top before chilling to enhance the flavor.
Serving Suggestions
Serve your Homemade Reese’s Cups Mini Bites in a decorative bowl for indulging during family movie nights or gatherings with friends. Dipping them in a warm chocolate sauce or a drizzle of caramel can elevate the experience further, offering a fun presentation that everyone can enjoy.
For added flair, consider garnishing with crushed peanuts or a sprinkle of sea salt right before serving. This not only enhances the visual appeal but also intensifies the nutty flavor of the bites, making them irresistible.
Troubleshooting Common Issues
If the chocolate layer is cracking when you bite into the mini bites, it likely means the chocolate was either overheated or too thick. Next time, ensure you melt it just until smooth, and remember to stir thoroughly as the residual heat will continue to melt the chocolate even after you've removed it from the microwave.
Alternatively, if your peanut butter filling is too runny, it likely needs a bit more powdered sugar. Gradually add it in and mix until you reach a thicker consistency that holds its shape. This will ensure that when you stack the filling with the chocolate layer, it maintains its integrity.
Questions About Recipes
→ Can I use milk chocolate instead of semi-sweet?
Yes, milk chocolate will make them sweeter and still delicious!
→ How long can these mini bites be stored?
They can be stored in an airtight container in the fridge for up to a week.
→ Can I make these vegan?
Absolutely! Use dairy-free chocolate chips and natural nut butter without added sugar.
→ What can I substitute for powdered sugar?
You can blend granulated sugar in a blender until finely powdered as a substitute.
Homemade Reese’s Cups Mini Bites
Created by: Lydia Spencer
Recipe Type: Golden Sweets
Skill Level: Beginner
Final Quantity: 24 mini bites
What You'll Need
For the Chocolate Layer
- 1 cup semi-sweet chocolate chips
- 1 tablespoon coconut oil
For the Peanut Butter Filling
- 1/2 cup creamy peanut butter
- 1/4 cup powdered sugar
- 1 teaspoon vanilla extract
How-To Steps
In a microwave-safe bowl, combine the chocolate chips and coconut oil. Heat in the microwave in 30-second intervals, stirring in between, until the mixture is fully melted and smooth.
Line a mini muffin tin with cupcake liners. Once the chocolate is melted, spoon about 1 tablespoon into each liner, spreading it evenly at the base.
In a separate bowl, mix together the peanut butter, powdered sugar, and vanilla extract until smooth and well combined.
Once the chocolate layer has set for about 10 minutes, add about 1 teaspoon of the peanut butter filling to each liner on top of the chocolate.
Pour another tablespoon of melted chocolate over the peanut butter filling in each liner, making sure to cover it completely.
Place the muffin tin in the refrigerator for at least 10 minutes to allow the mini bites to set completely before serving.
Extra Tips
- For an extra touch, sprinkle a bit of sea salt on top before chilling to enhance the flavor.
Nutritional Breakdown (Per Serving)
- Calories: 380 kcal
- Total Fat: 26g
- Saturated Fat: 15g
- Cholesterol: 195mg
- Sodium: 85mg
- Total Carbohydrates: 32g
- Dietary Fiber: 3g
- Sugars: 24g
- Protein: 6g